

 English
 Español
News
Solenoid Valve Solutions
How to Clean a Solenoid Valve: Step-by-Step Guide
Content
- 1 The Short Answer: How to Clean a Solenoid Valve
- 2 Signs Your Solenoid Valve Needs Cleaning
- 3 Tools and Materials You Will Need
- 4 Step-by-Step Guide to Cleaning a Solenoid Valve
- 4.1 Step 1: Disconnect Power and Shut Off the Fluid Supply
- 4.2 Step 2: Remove the Valve from the Line
- 4.3 Step 3: Detach the Solenoid Coil
- 4.4 Step 4: Disassemble the Valve Body
- 4.5 Step 5: Inspect All Internal Parts
- 4.6 Step 6: Soak and Scrub the Parts
- 4.7 Step 7: Rinse and Dry All Components
- 4.8 Step 8: Reassemble the Valve
- 4.9 Step 9: Reinstall and Test the Valve
- 5 Cleaning Methods Compared by Contamination Type
- 6 How to Clean the Solenoid Coil Exterior
- 7 How Often Should You Clean a Solenoid Valve
- 8 Common Mistakes to Avoid During Cleaning
- 9 When Cleaning Is Not Enough
The Short Answer: How to Clean a Solenoid Valve
To clean a solenoid valve, shut off power and fluid supply, disassemble the valve, soak internal parts in a cleaning solution, scrub away debris, rinse thoroughly, and reassemble. Most cleaning jobs take 30 to 60 minutes and require only basic tools. Regular cleaning every 6 to 12 months prevents clogging, extends valve life, and restores proper flow control.
Signs Your Solenoid Valve Needs Cleaning
A dirty solenoid valve often gives clear warning signs before it fails completely. Catching these early saves time and avoids costly replacements.
- The valve does not open or close fully despite receiving the correct electrical signal
- Fluid flow is reduced or inconsistent compared to normal operation
- You hear unusual humming, buzzing, or clicking sounds during operation
- Visible sediment, rust, or mineral deposits appear around the valve body or ports
- The valve leaks fluid even when it should be fully closed
In irrigation systems, for example, a partially clogged solenoid valve can reduce output pressure by up to 40%, which noticeably affects coverage and plant watering efficiency.
Tools and Materials You Will Need
Gather everything before you start to keep the process efficient and avoid interruptions.
- Flathead and Phillips screwdrivers
- Adjustable wrench or pliers
- Small soft-bristle brush or old toothbrush
- Clean cloths or paper towels
- Container or basin for soaking parts
- White vinegar, mild detergent, or a dedicated parts cleaner
- Compressed air can (optional but helpful for drying)
- Replacement O-rings or seals if the existing ones appear worn
Always consult your valve's documentation before starting, as internal configurations vary across valve types used in water, air, oil, and gas systems.
Step-by-Step Guide to Cleaning a Solenoid Valve
Step 1: Disconnect Power and Shut Off the Fluid Supply
Never work on a solenoid valve while it is energized or under pressure. Switch off the electrical supply at the circuit breaker or unplug the solenoid coil connection. Then close the upstream shutoff valve to stop fluid flow. Allow pressure to fully release before touching any fittings.
Step 2: Remove the Valve from the Line
For thorough cleaning, remove the valve from the pipe or tubing using a wrench. Place a cloth under the valve first to catch any residual fluid. If in-line cleaning is preferred for simpler maintenance, some valves allow flushing without full removal, but disassembly yields far better results.
Step 3: Detach the Solenoid Coil
The coil is the electrical component at the top of the valve. Unscrew or unclip it carefully and set it aside in a dry location. The coil must never be submerged in liquid, as moisture will damage the winding insulation and cause electrical failure.
Step 4: Disassemble the Valve Body
Unscrew the valve bonnet or top cap to access the internal parts. Carefully remove the plunger or armature, spring, diaphragm, and any seals or O-rings. Lay each part out in order on a clean surface so you can reassemble them correctly. Taking a photo before disassembly is a practical way to remember the configuration.
Step 5: Inspect All Internal Parts
Check each component for signs of wear, cracks, or heavy buildup. A cracked diaphragm or a deformed O-ring will cause leaks even after cleaning and must be replaced. Replacement seal kits are widely available and typically cost only a few dollars, making this a smart step to avoid repeat disassembly.
Step 6: Soak and Scrub the Parts
Place metal components and the valve body into a container with white vinegar for mineral deposits, or mild soapy water for general debris. Soak for 15 to 30 minutes, then use a soft brush to scrub away loosened buildup from ports, passages, and surfaces. Avoid abrasive pads that can scratch sealing surfaces. For stubborn calcium deposits in water valves, a solution of equal parts vinegar and warm water works effectively without damaging metal.
Step 7: Rinse and Dry All Components
Rinse every part thoroughly with clean water to remove all traces of cleaning solution. Any residue left inside can contaminate the system fluid or degrade rubber seals. Use compressed air if available to blow out narrow ports and passages, then allow parts to air dry completely or wipe them down with a lint-free cloth.
Step 8: Reassemble the Valve
Replace any worn O-rings or seals with new ones of the correct size. Reassemble the internal components in the original order, reattach the bonnet, and hand-tighten before using a wrench for the final snug fit. Reattach the solenoid coil securely. Do not overtighten, as plastic valve bodies can crack under excessive torque.
Step 9: Reinstall and Test the Valve
Reconnect the valve to the pipe, restore the fluid supply slowly, and check for leaks at all connection points. Then restore electrical power and cycle the valve open and closed several times to confirm smooth, full operation. Listen for clean actuation clicks and verify that flow starts and stops as expected.
Cleaning Methods Compared by Contamination Type
Different contamination types call for different cleaning approaches. The table below summarizes which method works best for each situation.
| Contamination Type | Recommended Cleaner | Soak Time | Notes |
|---|---|---|---|
| Mineral or calcium deposits | White vinegar solution | 20 to 30 minutes | Safe for most metals and rubber |
| General dirt and sediment | Mild soapy water | 10 to 15 minutes | Rinse thoroughly to avoid residue |
| Oil or grease buildup | Isopropyl alcohol or parts cleaner | 15 to 20 minutes | Ensure full evaporation before reassembly |
| Rust particles | Vinegar with light scrubbing | 30 minutes | Consider adding an upstream filter |
How to Clean the Solenoid Coil Exterior
While the coil itself cannot be submerged, its exterior can be wiped down carefully. Use a dry or very lightly dampened cloth to remove dust, grime, or corrosion from the outer casing and electrical terminals. Check the terminals for oxidation, which appears as a white or greenish crust, and clean them gently with a dry brush. Corroded terminals increase electrical resistance and can cause the coil to overheat over time.
If the coil shows signs of burn marks, a strong burnt smell, or physical damage, replacement is safer than continued use. A faulty coil can draw excess current and damage the control circuit.
How Often Should You Clean a Solenoid Valve
Cleaning frequency depends on the fluid type, operating environment, and how much particulate is present in the system. As a general guide:
- Every 6 months for valves handling hard water, irrigation systems, or dusty environments
- Annually for valves in clean water or filtered air systems with minimal contamination
- Immediately if performance issues appear, regardless of the last maintenance date
Installing a strainer or inline filter upstream of the valve is one of the most effective ways to extend cleaning intervals. A filter with a 40 to 100 mesh rating captures most particles before they reach the valve seat or plunger.
Common Mistakes to Avoid During Cleaning
- Submerging the solenoid coil in any liquid, which causes irreversible damage
- Using wire brushes or abrasive tools on valve seats or diaphragm surfaces, which causes scoring and future leaks
- Skipping the inspection step and reinstalling cracked or deformed seals
- Reassembling parts that are still wet, which traps moisture inside and accelerates corrosion
- Using harsh chemical solvents not rated for the valve material, which degrades rubber components quickly
- Forgetting to depressurize the system before loosening fittings, which is a serious safety risk
When Cleaning Is Not Enough
Cleaning resolves most solenoid valve problems caused by contamination, but some issues require repair or full replacement. Consider replacing the valve if:
- The valve body is cracked, corroded through, or physically warped
- The plunger or armature is badly scored and does not move freely after cleaning
- The coil measures an open circuit or short circuit on a multimeter, indicating internal failure
- The valve has been cleaned multiple times within a short period and keeps failing
In these cases, the cost of a replacement valve is almost always lower than the cost of downtime or water damage caused by a repeatedly failing component.
Our Main Products


Alahot is Water Solenoid Valves Manufacturer and Factory in China. Follow our social media postings for the latest news and exhibitions.
Discover
Contact
-
 3/F, No.72 Desheng Lane, Gongshu District, Hangzhou, Zhejiang, China
 -

-
 +86-18768178590
Newsletter
Copyright © 2025 Alahot (zhejiang) Technology Co., Ltd.
All Rights Reserved.
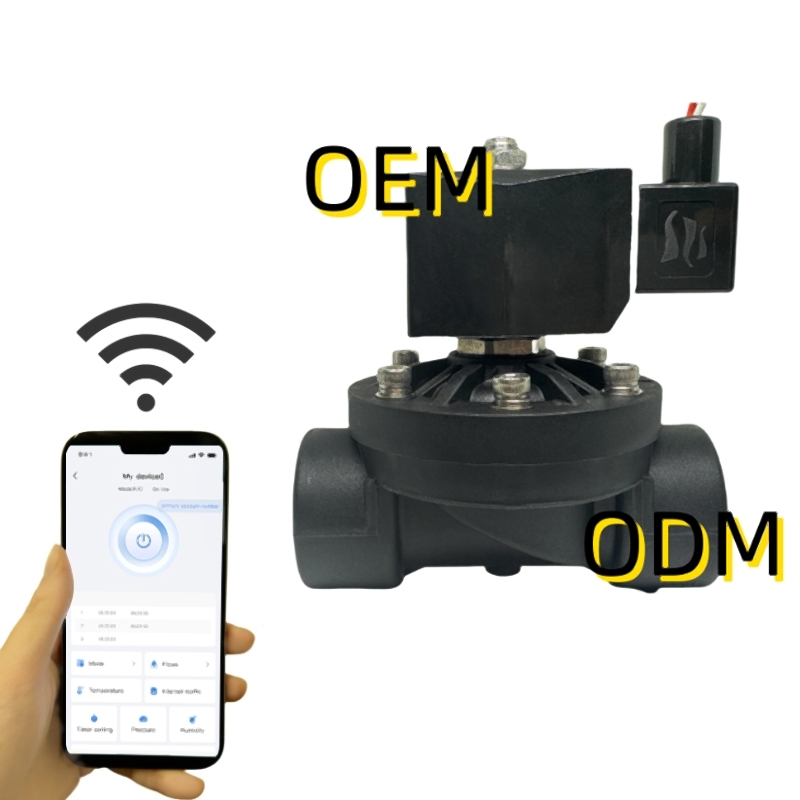
OEM/ODM Electric Solenoid Valves Manufacture
