

 English
 Español
News
Home / News / Solenoid Valve Solutions / Latching Solenoid Valve Not Working? Fix These 6 Common Problems
News
Content
You've installed a latching solenoid valve, wired everything up, and hit the trigger — nothing happens. Or the valve opens but refuses to close. Or it works fine for a week, then starts leaking. These are the calls valve engineers get constantly, and almost every case traces back to one of six fixable causes.
This guide cuts straight to diagnosis and fix. No basics — just the problems that actually show up in the field.
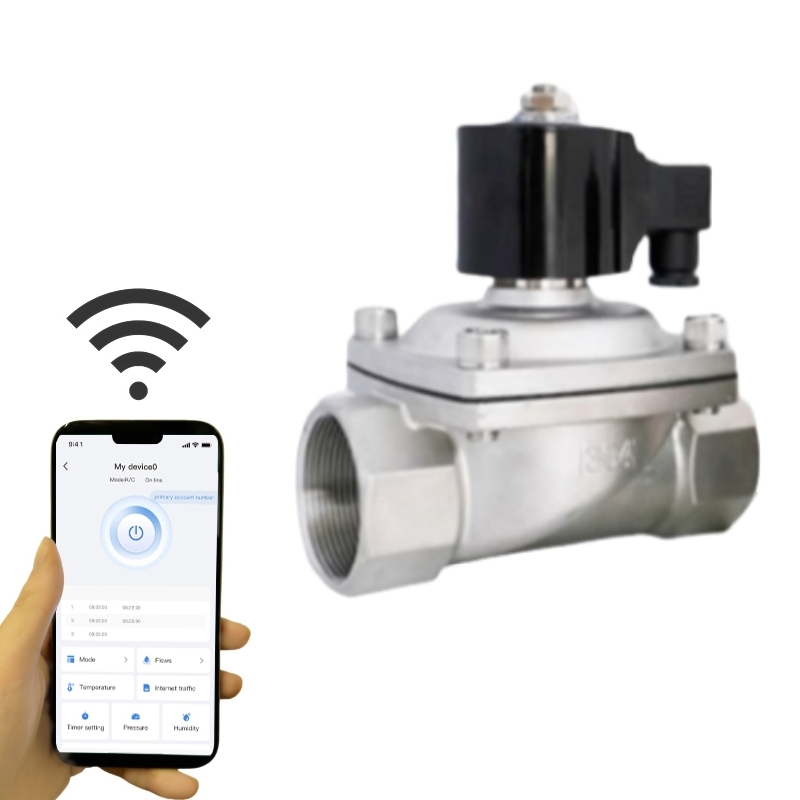
Most likely cause: wrong pulse polarity or insufficient pulse duration. Latching valves require a specific polarity to open and the reverse to close. If your controller outputs a single-polarity signal to a bistable single-coil valve, the valve will never respond on the "open" command — because you're sending the wrong direction.
First, listen for a click. A healthy latching solenoid clicks once when activated. No click at all means the coil isn't receiving the signal, or the pulse is too short. The required actuation pulse is typically 20–50 ms — shorter than that, the plunger won't fully shift.
Most likely cause: close pulse not firing, or plunger sticking. Because latching valves hold position without power, a failure to close is often electrical — the close command simply isn't reaching the coil.
If the electrical signal is confirmed correct, suspect a mechanically stuck plunger. Latching solenoids that sit inactive for weeks (off-season irrigation systems, for example) can develop plunger stiction from mineral deposits or dried lubricant.
Cause: pulse duration too long. This is a latching-specific failure mode. If the electrical pulse exceeds roughly 80–100 ms (exact limit varies by model), the plunger shifts fully open and then the excess energy toggles it back — re-latching in the closed position. From the outside it looks like the valve briefly flickered.
Most likely cause: debris on the seat, or worn diaphragm/seal. A latching valve that seals fine initially but develops a drip after weeks of use is usually a contamination issue — particles in the media lodge between the valve seat and sealing element, preventing full closure.
Cause: continuous power applied to a latching coil. This is the most destructive misuse of a latching valve. The coil is designed for momentary pulses only — applying sustained voltage burns the winding within minutes. If you smell melted insulation or the coil body cracks, continuous power is the culprit.
Standard solenoid valve coils are designed to stay energized indefinitely. Latching coils are not. The two look identical from the outside — always check the datasheet before wiring.
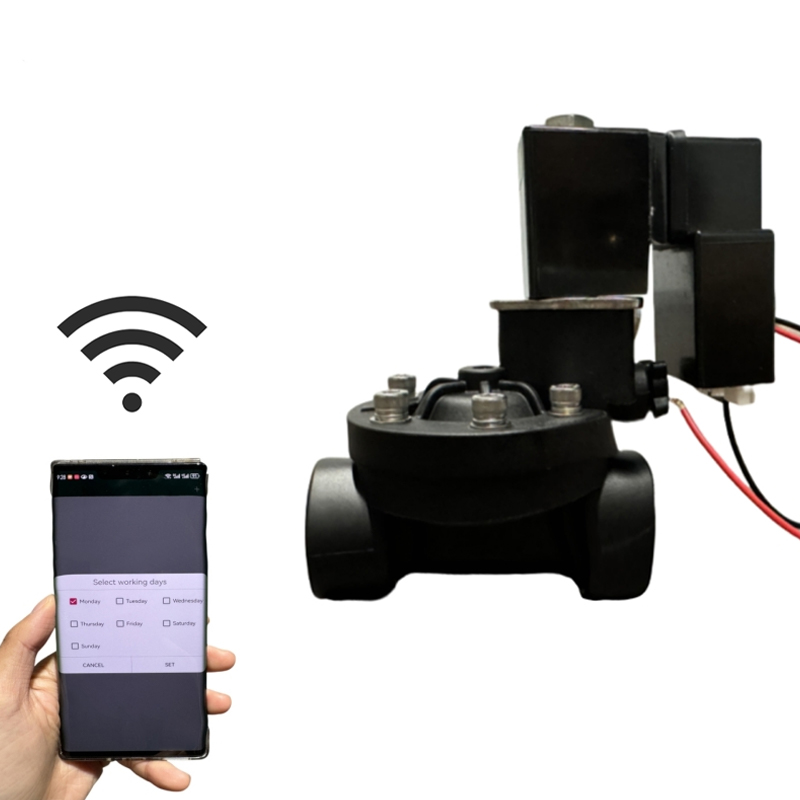
Most likely cause: loose wiring, marginal voltage, or water in the connector. Intermittent failures are the hardest to diagnose because the valve passes a bench test. In the field, connector corrosion — especially in outdoor irrigation installations — creates resistance that drops pulse voltage below the reliable actuation threshold.
| Symptom | First Check | Likely Fix |
|---|---|---|
| No response, no click | Pulse voltage & polarity | Fix driver circuit / extend pulse |
| Opens, won't close | Close pulse signal | Fix wiring or free plunger |
| Opens then immediately closes | Pulse duration | Shorten to 30–50 ms |
| Leaks when closed | Seat & diaphragm condition | Clean seat / replace seal |
| Coil burns out | Pulse vs. sustained signal | Add pulse driver module |
| Intermittent operation | Connector & wire resistance | Clean connectors / check voltage drop |
Most latching solenoid valve failures are electrical, not mechanical. Before ordering a replacement valve, confirm the pulse duration, polarity, and voltage are correct at the coil terminals — not just at the controller output. A $200 valve swap won't fix a wiring problem. Spend five minutes with a multimeter first, and you'll resolve 80% of field failures without touching the valve body.


Copyright © 2025 Alahot (zhejiang) Technology Co., Ltd.
All Rights Reserved.
OEM/ODM Electric Solenoid Valves Manufacture
